How to Reconstitute
Peptides
A plain-English, step-by-step guide to safely converting lyophilized peptide powder into a sterile injectable solution — done right, every single time.
Gather and lay out all of these items before you touch anything. Having everything within reach means you never have to fumble mid-procedure and risk contaminating a surface or a needle. Do not substitute any item — each is specified for a specific reason.
Not all vials are created equal. A cheap vial from an unverified overseas source may look identical but has never been through a validated, documented sterilization process. An American-made vial from an FDA-supervised facility means the sterilization method was validated, monitored, and audited. The rubber stopper is where the quality gap shows up most dramatically — a pharmaceutical-grade stopper will not leach plasticizers or shed microscopic fragments into your solution, and is tested to handle repeated punctures without tearing or losing its seal. You may access this vial 10–20 times over several weeks. A quality stopper holds up. A bargain stopper begins to degrade — right when you'd least expect it.
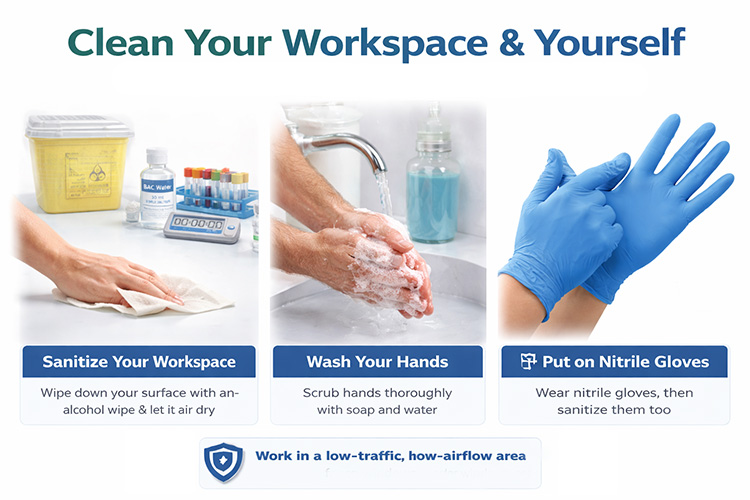
Wipe your entire work surface with a 70% isopropyl alcohol wipe and let it fully air dry — about 15 seconds. Wash your hands thoroughly, then put on your nitrile gloves. Once the gloves are on, wipe the outside of the gloves with another fresh alcohol wipe. Work in a low-traffic, low-airflow area — away from fans, open windows, or air vents, which carry airborne particles directly onto your clean surface.
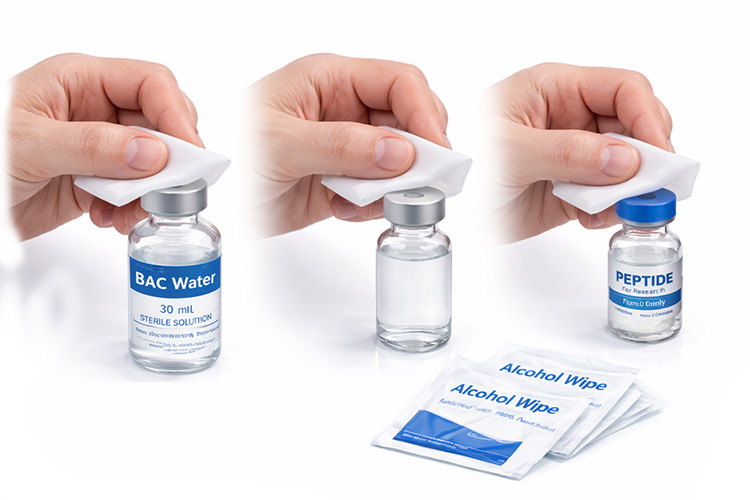
Take a fresh alcohol wipe and firmly swab the rubber septum on top of your BAC water vial. Use a separate wipe on the top of your new sterile empty vial. Use another on the lyophilized peptide vial. One wipe per vial. Let each septum air dry for 10–15 seconds before inserting a needle — you do not want wet alcohol carried into your solution, and brief contact time is required for the alcohol to actually work.
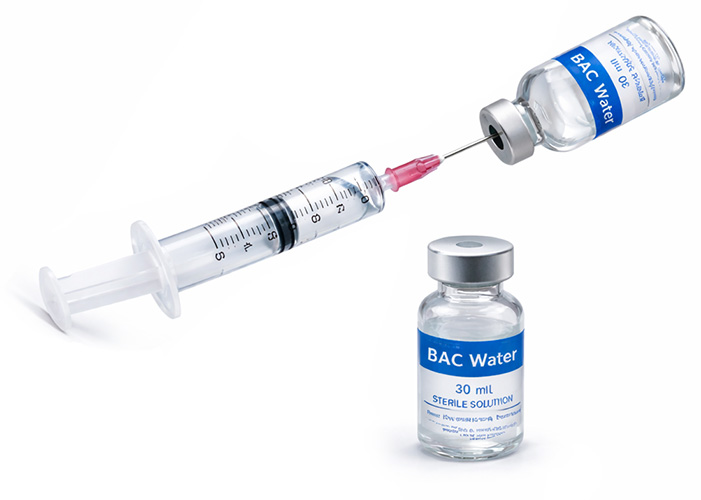
Attach the 18g × 1.5" needle to your 5ml syringe. Draw your bacteriostatic water, but draw 0.5ml less than your total target volume. If you want 2ml total in the finished vial, draw 1.5ml now. Then, without removing the needle from the BAC vial, continue drawing an additional 0.7ml — this is your filter flush volume for a later step. You now have your full working volume plus your recovery flush all loaded in one syringe.
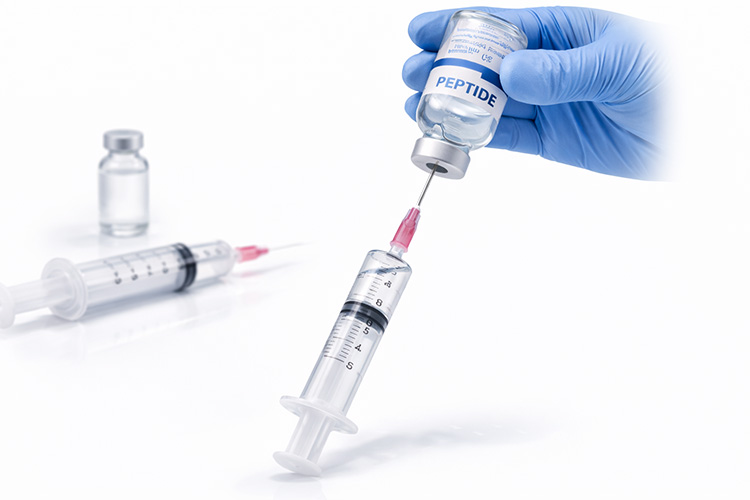
Insert the 1.5" needle through the rubber septum of the lyophilized peptide vial. The moment the needle enters you will feel the vial trying to yank the plunger downward — this is the vacuum pulling your BAC water in all at once. Hold the plunger firmly with your thumb and control the rate yourself. Angle the needle tip so the stream of BAC water hits the glass wall of the vial, not directly onto the powder below. Let it trickle down the glass side and gently absorb into the powder from underneath.
Set the vial down on your clean surface and leave it alone for 15 minutes. The peptide powder will absorb the BAC water on its own. Every few minutes you can pick it up and gently roll it between your palms — a slow, smooth circular motion that encourages the liquid to reach any remaining dry powder along the edges. The solution is fully ready when it is completely clear with no visible particles, cloudiness, or remaining powder on the bottom.
Flip the peptide vial completely upside down and hold it inverted. Insert the long 1.5" needle through the septum — the needle tip is now submerged in the solution that has pooled at what is now the bottom of the vial. Slowly pull the plunger back to draw every single drop of solution out. The 1.5" length reaches the very bottom of a standard 3ml inverted vial — meaning you recover everything. Keep pulling even after the liquid appears gone to pull in a small pocket of air as final confirmation that nothing is left.
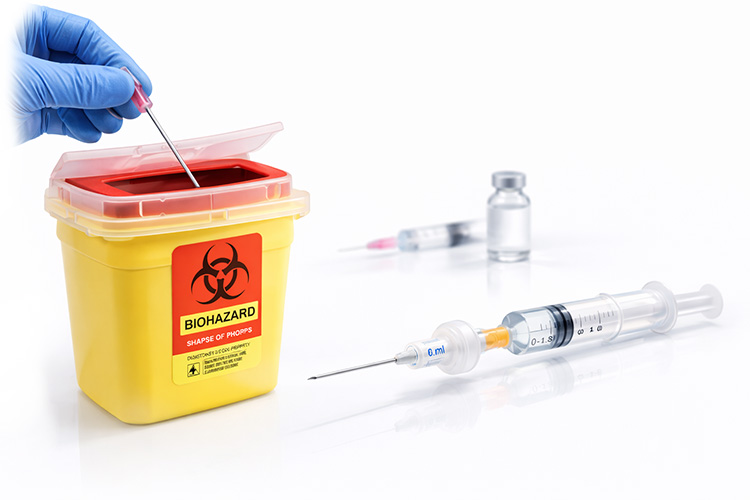
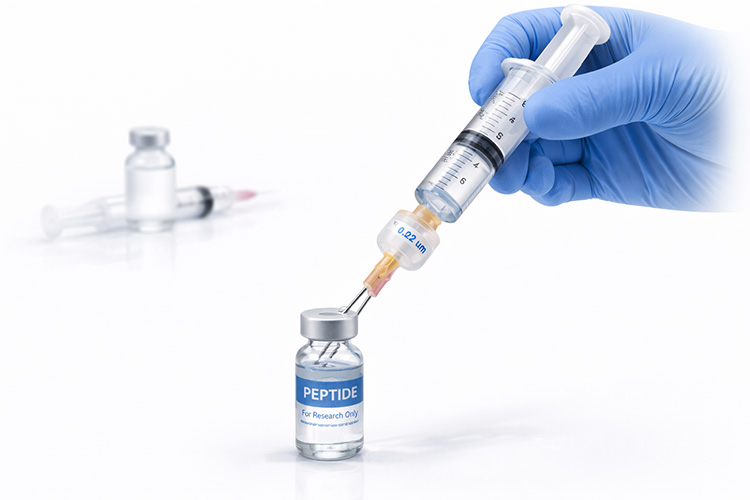
Remove the 1.5" needle from the syringe and drop it straight into the sharps container — do not set it on the surface for even a second. Now thread your 0.22 micron syringe filter directly onto the syringe tip. Then attach a fresh 18g × 5/8" needle to the output end of the filter. Your complete assembly is now: syringe → filter → short needle. This configuration will force your solution through a sterile membrane, physically stripping out any bacteria, fungal spores, or fine particulates before they can reach your final vial.
Take your clean sterile final vial. Insert a second 18g × 5/8" vent needle through the septum first — this creates an air escape route so pressure doesn't build up and resist your plunger as you push liquid in. Then insert the filter needle assembly through the septum alongside the vent needle. Now press the plunger down steadily and evenly, forcing your peptide solution through the 0.22 micron membrane and into the sterile vial. You will feel moderate resistance from the filter membrane — this is normal, especially toward the end as the membrane loads up.
When the syringe barrel is empty, hold the filter needle firmly inside the vial with one hand and carefully twist the syringe off the back of the filter with the other — leaving the filter and its needle seated in the vial. Now draw your pre-planned 0.7ml of BAC flush water into the empty syringe. Reattach the syringe to the back of the filter. Push all 0.7ml through the filter into the vial. The filter membrane has 0.2ml of your peptide solution soaked into it — this flush drives that trapped peptide out and into your final vial. You recover approximately 0.5ml; the 0.2ml absorbed into the membrane is the only volume lost in the entire procedure.
Pull the filter needle and vent needle from the final vial and put both directly into the sharps container. Dispose of the syringe and filter as well. Your vial now contains a sterile, filtered, fully reconstituted peptide solution ready for use. Label it before you put it down. An unlabeled vial is a dangerous vial — you will not remember the concentration, the date, or even what compound it is a week from now. Refrigerate at 2–8°C immediately. Peptide reconstituted in bacteriostatic water is typically stable for 4–6 weeks when refrigerated and protected from light.
A properly labeled vial tells you everything you need at a glance — without thinking or doing math under pressure when it's time to dose. Write all five fields every single time, no exceptions.
Total Volume — The ml of BAC water you reconstituted with. This is the physical liquid volume now inside the vial.
Total Peptide (mg) — The milligrams printed on the original lyophilized vial you started with. Write it exactly as stated on that vial.
Concentration (mg/ml) — Divide total mg by total ml. Example: 5mg ÷ 2ml = 2.5 mg/ml. This single number drives every dose calculation you will ever make from this vial.
Your Dose — Write your personal dose in both mg and the equivalent ml to draw. At 2.5mg/ml, a 0.25mg dose = 0.10ml. Writing both means zero math at dose time — ever.
Discard After — Add 42 days (6 weeks) to today's date. Bacteriostatic water preserves peptide but not indefinitely. After 6 weeks reconstitute fresh from lyophilized stock.